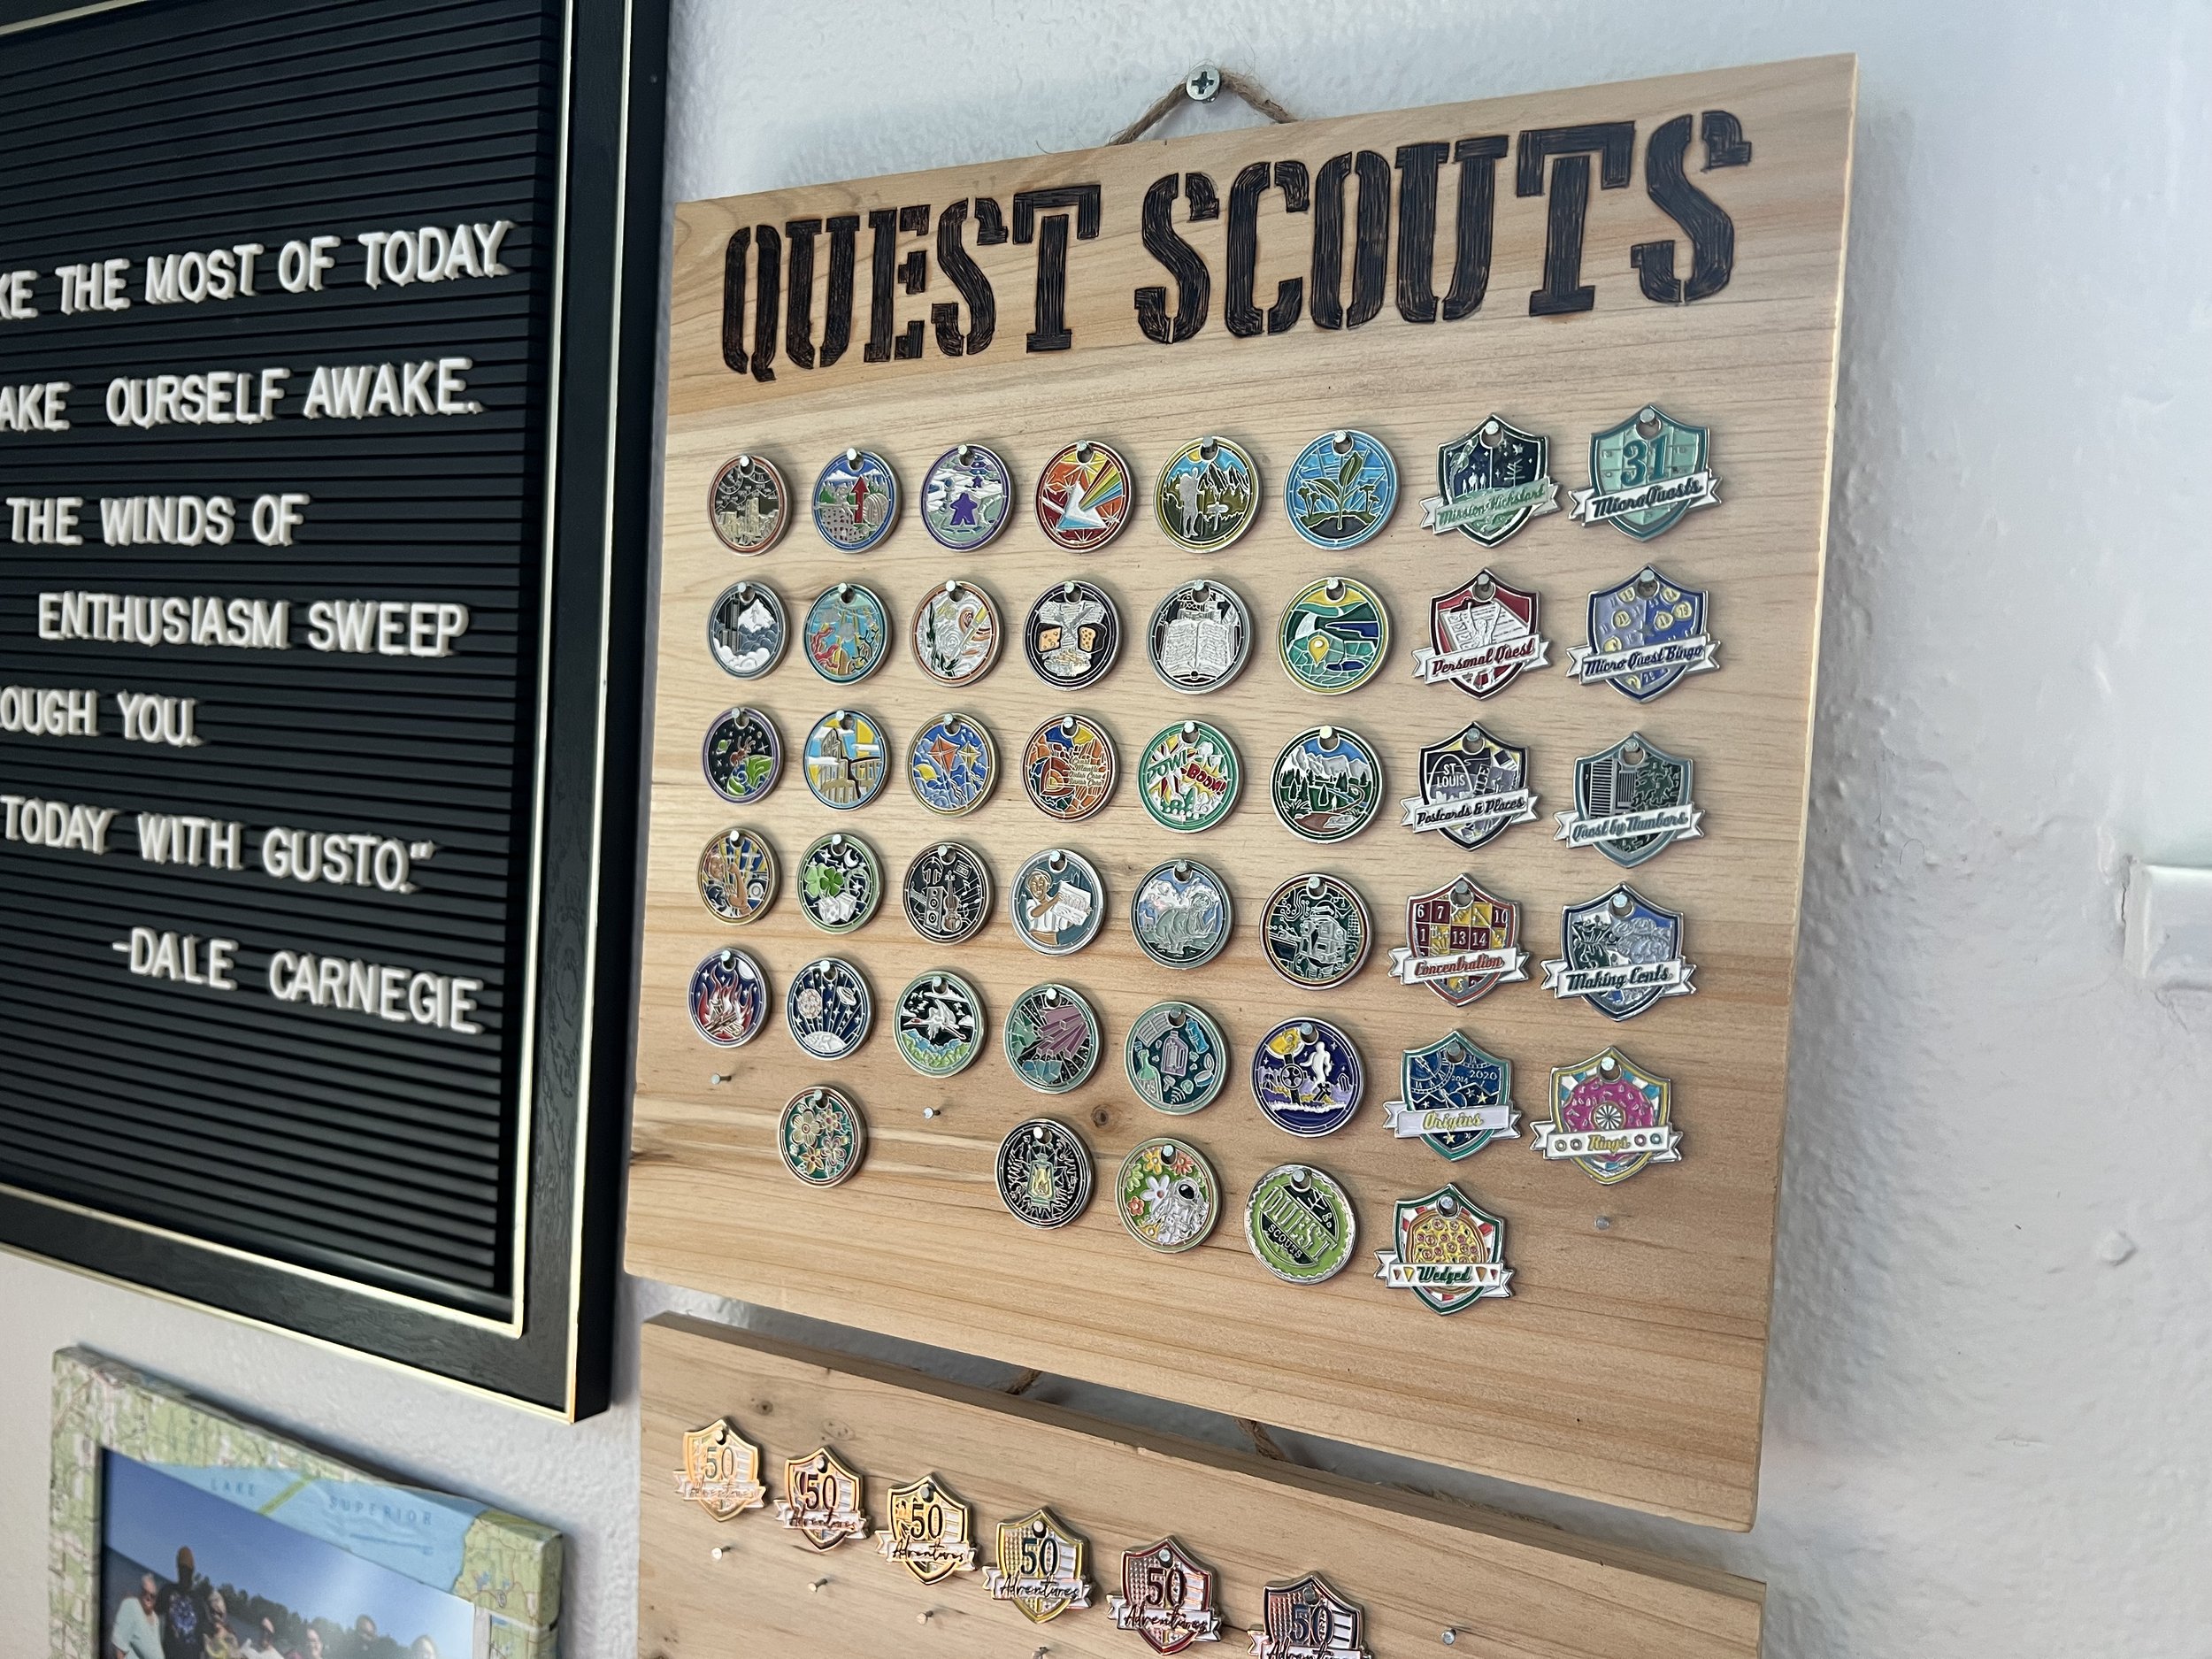
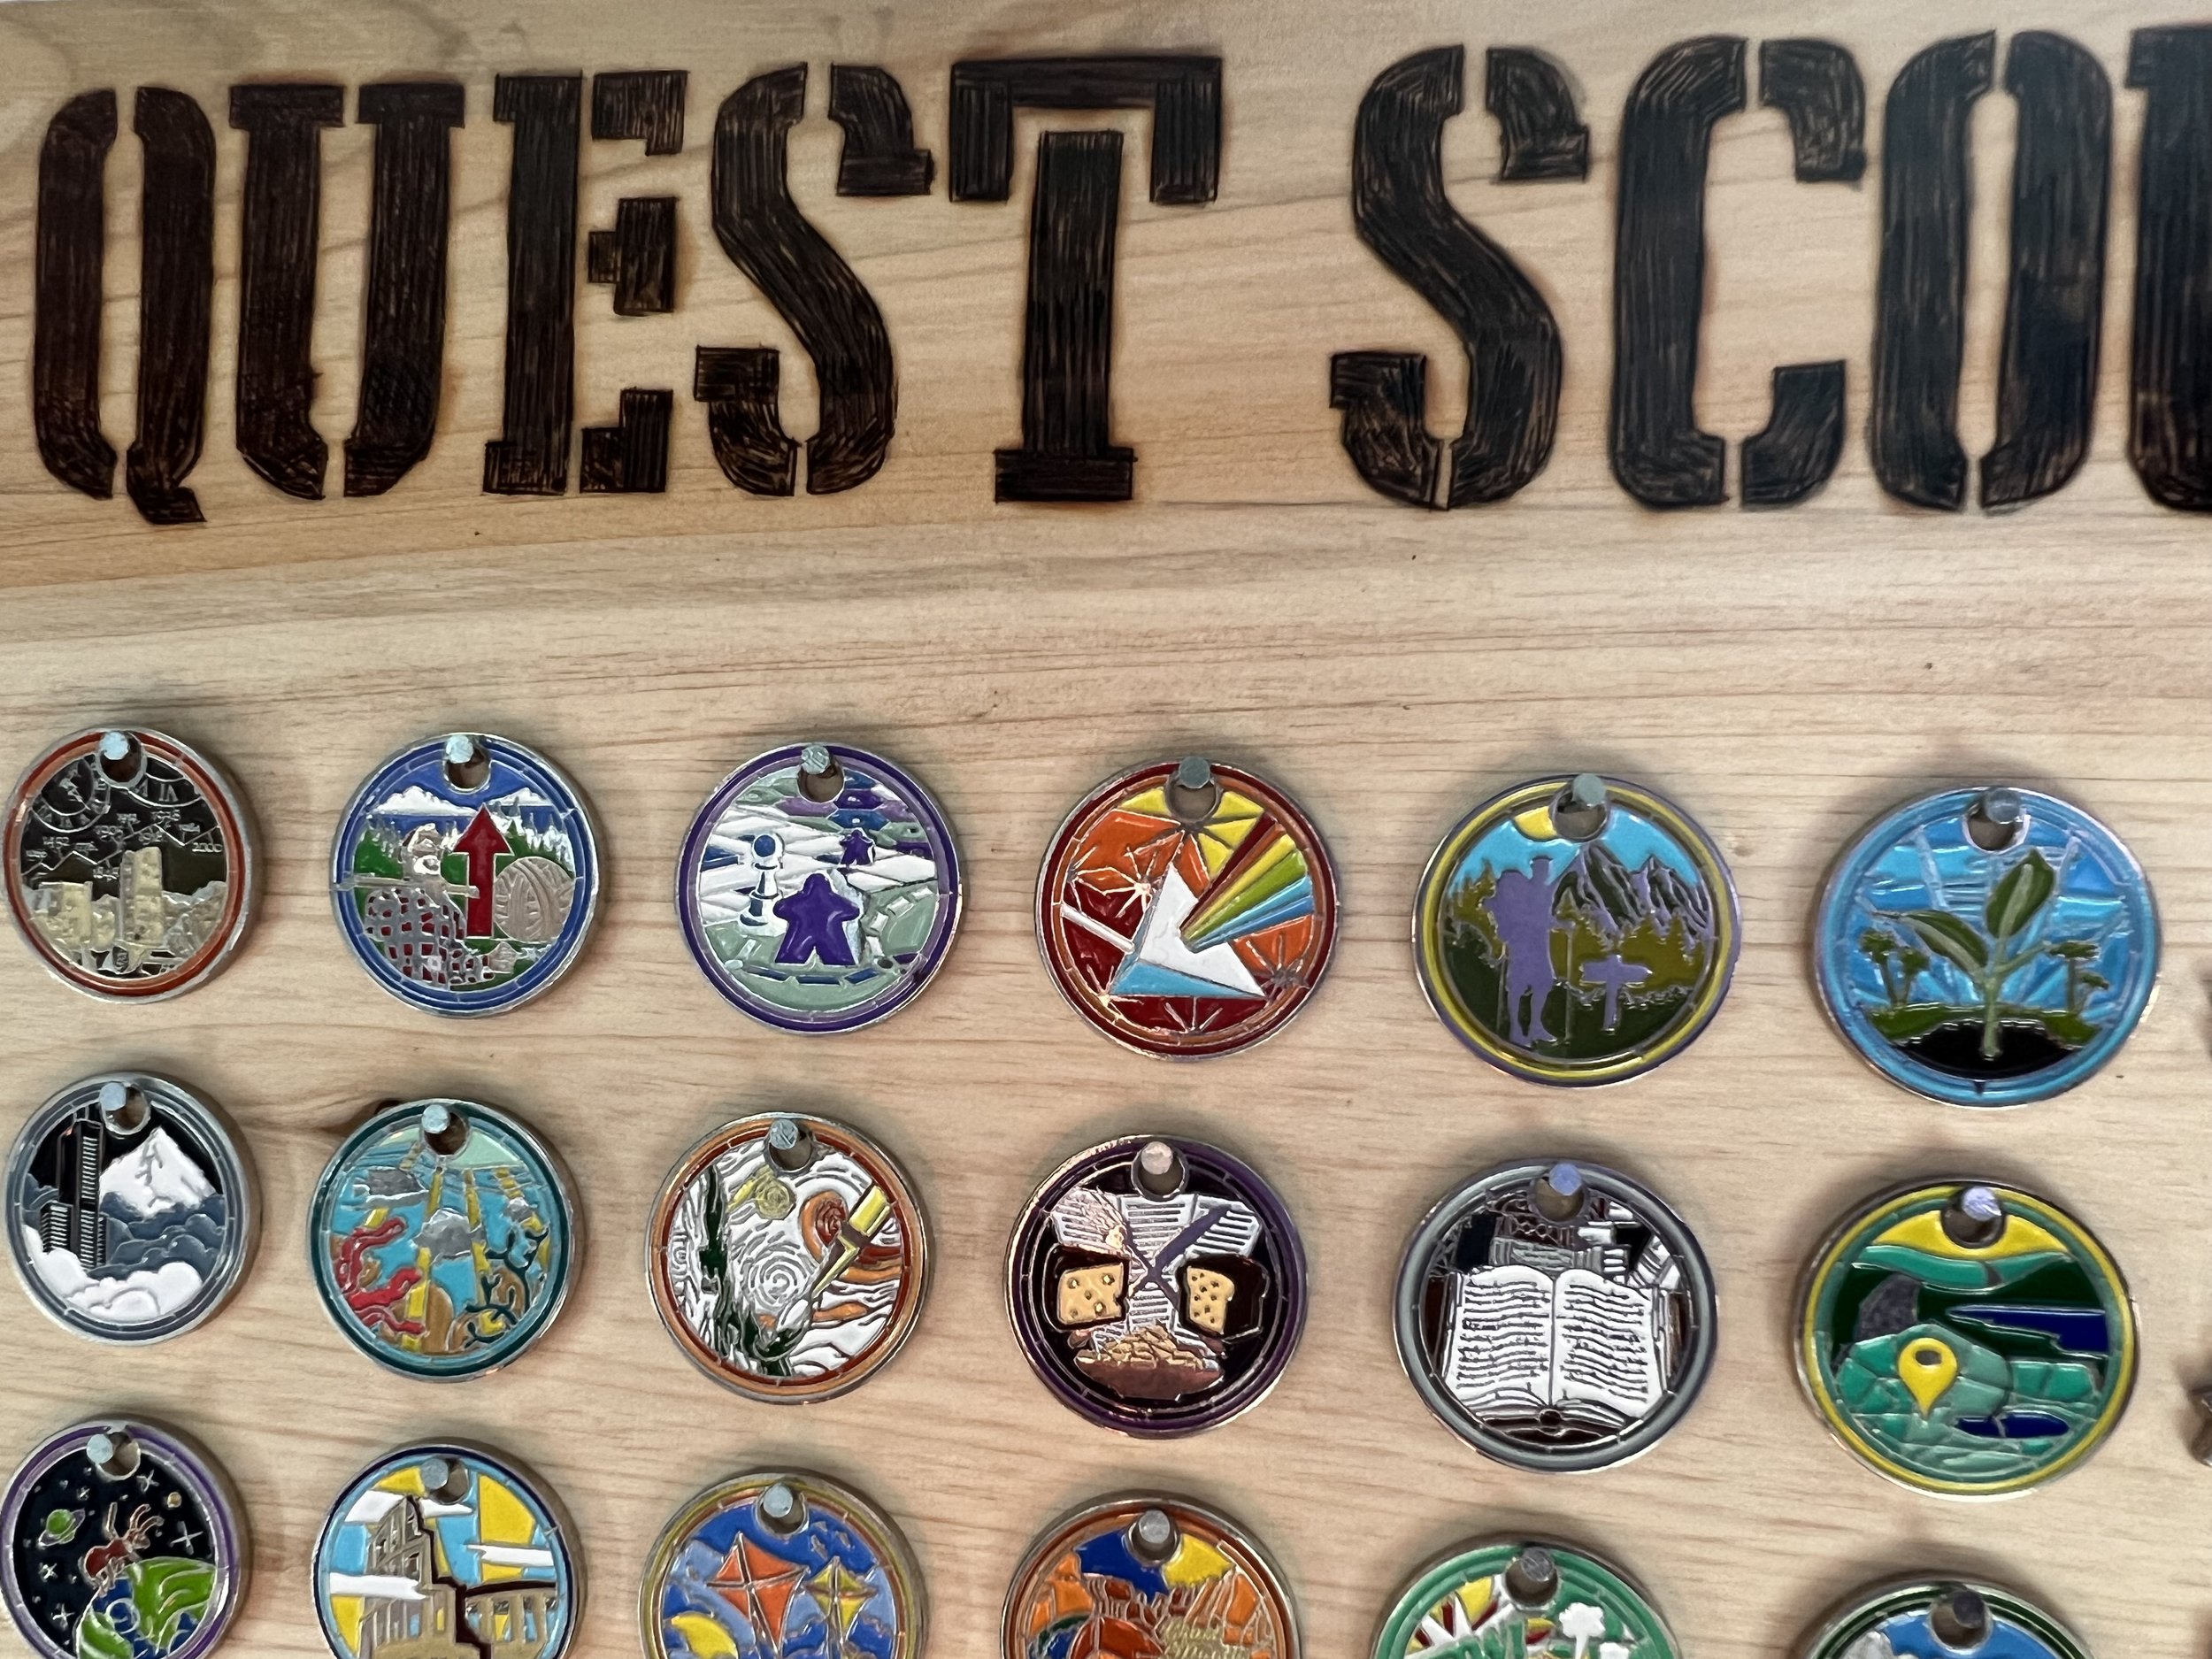
Objective:
Create a wooden badge board to hold your Quest Scouts tag badges.


Details:
This objective is for anyone who collects (or plans to collect) tag badges! If that’s not you, no worries; Simply skip this objective! If that is you, excellent! By the end of this objective you’ll have an awesome display board ready to be filled with tags.
1) First, you’ll need to assess your needs. How many tags will need to fit on your board? Some scouts have been questing for years, while others are just getting started. Your number of tags is reliant on both your longevity and level of participation within the community.
Let’s talk badge types and numbers! There are currently three types of badges:
Standard Quest (Round) Badges-
Series 1-3 offer twelve standard quests each. Series 4 will eventually come to being, and will likely offer twelve more standard quests, for a total of 48. All 48 quests will eventually be available to all scouts. (A few series I standard quests have been archived but will return). As standard quests are not achieved, you can plan on collecting all 48 at your liesure.
Special Quest (Shield Shaped) Badges-
Special quests often don’t stick around forever. Long term scouts likely have some special tags that are no longer available. (Some may return in the future, but many will not.) Count the number of special tags you’ve earned in the past, as well as the number of special quests currently available to get an idea of how many spaces for special tags you’d like. Keep in mind that we are likely to release 2-4 special quests per year.
Achievement (Diamond Shape) Badges-
Like special quests, some achievements are time sensitive. For instance, our yearly member badge is only available to members during the year it represents. (e.g. Only those who are members during 2023 may own the 2023 Member Badge.) Count up your past member badges, and count on earning another this year as well! In addition to member badges, there are ten available achievement badges.
We suggest you make a board with more spaces than you currently need to accommodate for future badges earned. This is NOT an exact science, and we’d like you to keep in mind that you can always make a new board in the future to accommodate more tags! (In fact, wouldn’t it be cool in a few years to pass on your smaller board to a newbie scout!) You can also make a modular board, and simply add an additional board below your first board as needed.
2) After you’re estimated how many of each badge type you’ll need to accommodate, you’ll need to design your layout!
Option A- Use or Modify Our Layout
The easiest option might be to replicate a version of our board! (We’ve even provided templates below!) If you’re new to Quest Scouts the number of spaces for badges on our board might be overwhelming… That said, it would give you room to grow!
Our boards are modular and utilized two 10x10 boards we picked up at Michaels. (One pack has two boards!)
You can download the templates we used to make out boards here:
Template 1 of 2:
Top Board- QS Title w/ Room for Standard & Special Spacing
Template 2 of 2:
Bottom Board- Room for Standard, Special and Achievement
IMPORTANT: When printing the above templates, be sure to check that your printer is set to print “actual size”. If you skip this step the template likely won’t be correctly proportioned.
Depending on how many tags you plan to make space for, you may want to adapt the templates accordingly. For instance, you could take our template and remove any number of columns or rows. Another idea for new scouts is to make only the “bottom” board for now and add the top when you’ve earned more badges. The bottom board will accommodate all badge types and is plenty of space to start with.
Option B- Design You Own Layout
If you decide to design your own layout, there are two main factors that you’ll need to account for:
Board Size-
This objective asks that your display board be wooden. Beyond that, choose the board shape and size that works for you. At Quest Scouts Central, our first badge board was a live edge wood piece. Recently we built our display with two 10x10 boards, with the idea that we can add a third board as our collection grows.
Badge Types and Spacing-
The trickiest part of the planning is that NOT ALL OF OUT BADGES ARE THE SAME SIZE. While our standard and special quest badges are roughly similar, our achievement badges are a little bigger.
This means you’ll need to make a decision. You can either:
Space your tags far enough apart that all tags can fit in any row
OR
Make some rows for standard/special tags with one type of spacing and other rows for achievement tags with a second type of spacing.
Spacing tags evenly (but far apart enough to accommodate achievement badges) is a bit easier to do and is more adaptable, but leaves the standard tags hanging slightly further apart. (This may or may not be a big deal to you!) On the other hand, creating differently spaced rows (like our version) takes a bit more planning and limits where you can put each tag.
3) When you’ve planned out your design, you’ll need to to transfer your design to your piece of wood. We find that using paper over graphite paper and tracing the design is the easiest way to do this, but if you’ve got a better method (pencil through paper? freehanding?) by all means do what works best for you.
4) If your chosen design includes any words or images, you’ll want to make those portions permanent. (E.g. For our template, we’d want to fill in the words “Quest Scouts”.) We find that wood burning makes for a very cool, rustic looking board! Alternatively, you could try a very thin paint pen! (We don’t suggest using sharpie/markers on wood, as it tends to bleed.)
5) Hammer small nails (we used 19 ½” wire nails) into your board following your transferred design. Make sure the nails stick out enough for the tags to hang from.
6) And just like that, your display board is complete! Hang your display on the wall, and your tags on the board!!!
7) Take a photo of your finished display board and share it in our Facebook group.


